Showing 589 results
Archival Description576 results with digital objects Show results with digital objects
Photocopies
Photocopies
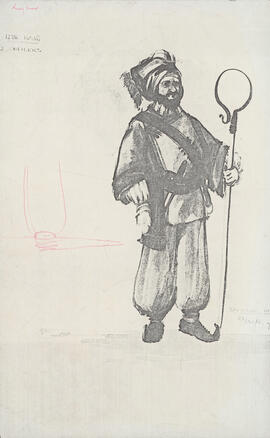
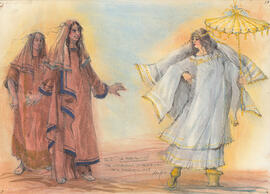
Photocopy of costue design for Two Officers
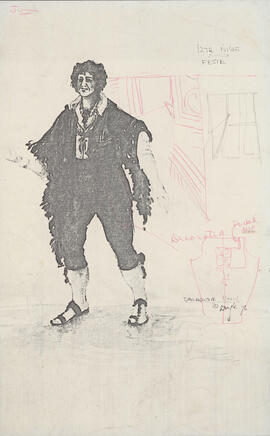
Photocopy of costume design for Feste
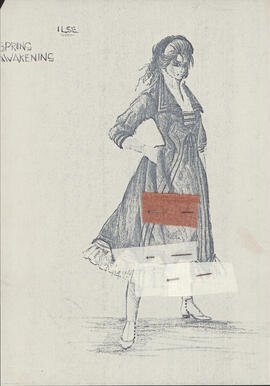
Photocopy of costume design for Ilse
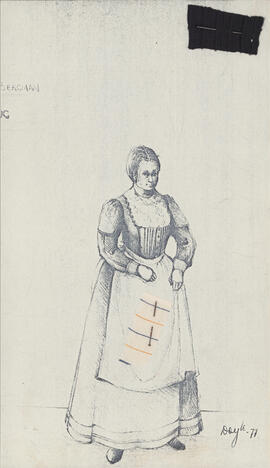
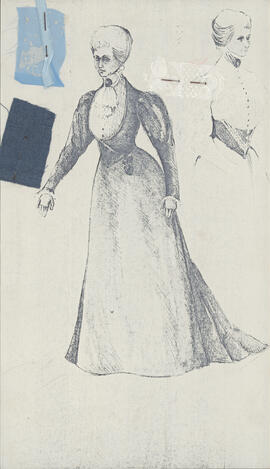
Photocopy of costume design for Mrs. Bergman
Photocopy of costume design for Mrs. Gabor
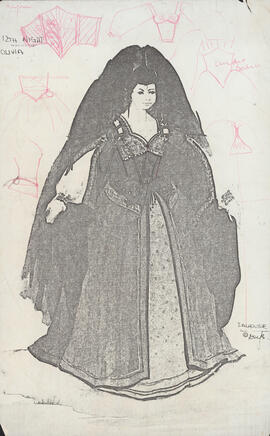
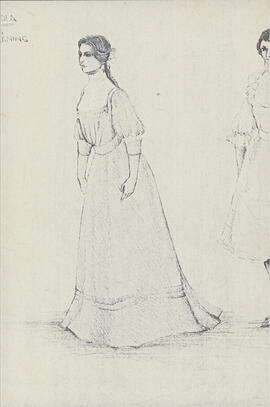
Photocopy of costume design for Olivia
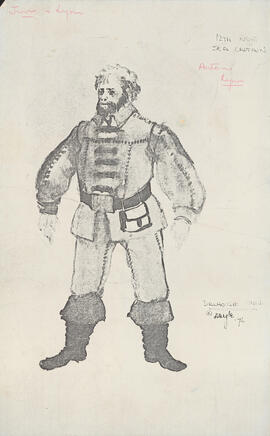
Photocopy of costume design for Sea Captain
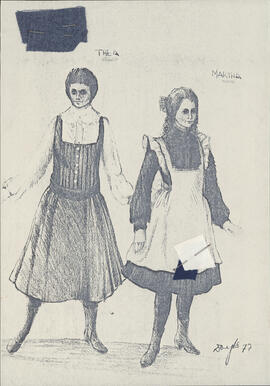
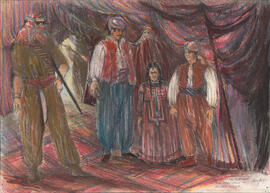
Photocopy of costume design for Thea and Martha
Photocopy of costume design for Wendla

Photocopy of costume designs for Wendla
Poster from Dear Santa
Poster from Dear Santa

Production poster for The Rover
Program from Ain't Misbehavin'
Program from Ain't Misbehavin'
Program from costume design exhibit : "Design is a Six letter Word: Works of Robert Doyle"
Program from costume design exhibit : "Design is a Six letter Word: Works of Robert Doyle"
Program from costume design exhibit : "The Myth and Magic in Costuming for the Stage"
Program from costume design exhibit : "The Myth and Magic in Costuming for the Stage"
Program from Dear Santa
Program from Dear Santa
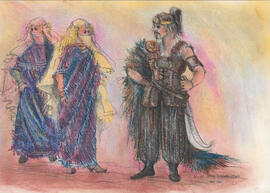
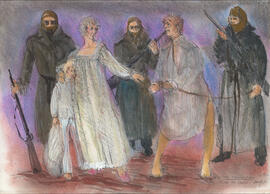
Program from The Hobbit
Program from The Hobbit
Program from The Rover
Program from The Rover
Scene 1 : The Weaver's Ecstasy
Scene 10 : Not Him
Scene 10 : Not Him
Scene 2 : Kiss My Hands
Scene 3 : Necessity

Scene 4 : Reasons for the Fall of Emperors
Scene 6 : The Dumb Woman's Ecstasy
Scene 7 : She Sees the Argument, But
Scene 8 : The Unforseen Consequences

Scene 9 : The Philosophical Lieutenant
Set design for The Taming of the Shrew
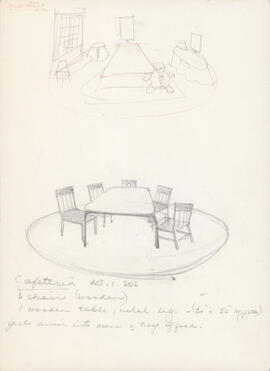
Sketch of cafeteria : Act I, scene II
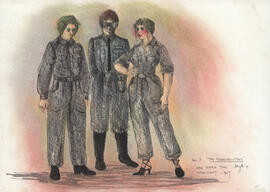
Sketch of four men masturbating
Sketch of four men masturbating
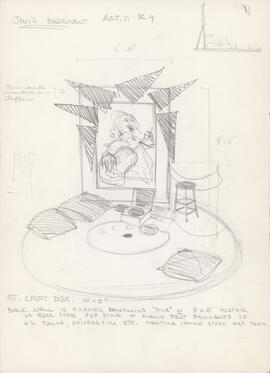
Sketch of Jan's basement
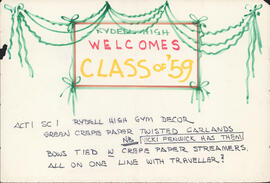
Sketch of large Rydell High sign
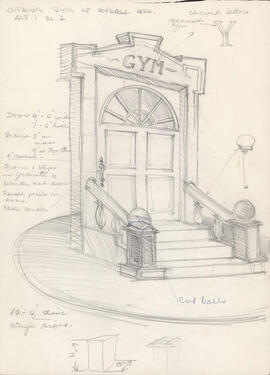
Sketch of outside the gym at Rydell High

Sketch of Rydell High sign

Sketch of Sandy's bedroom : Act I, scene IV
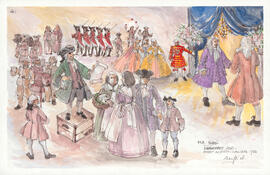
Sketch of Street Activity : Halifax 1753
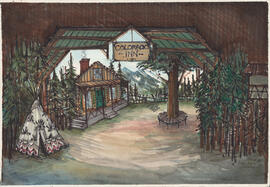
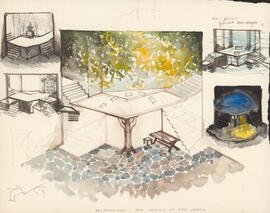
Stage design
Results 551 to 589 of 589