Showing 564 results
Archival Description564 results with digital objects Show results with digital objects
Scene 3 : Necessity

Scene 4 : Reasons for the Fall of Emperors
Scene 6 : The Dumb Woman's Ecstasy
Scene 7 : She Sees the Argument, But
Scene 8 : The Unforseen Consequences

Scene 9 : The Philosophical Lieutenant
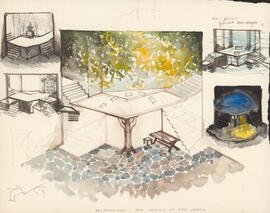
Set design for The Taming of the Shrew
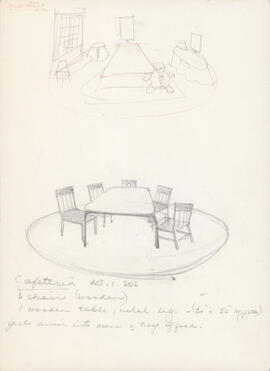
Sketch of cafeteria : Act I, scene II
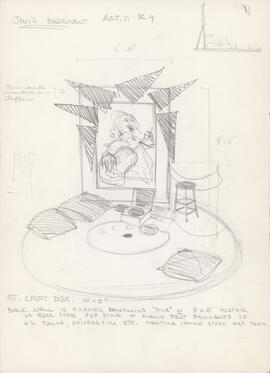
Sketch of Jan's basement
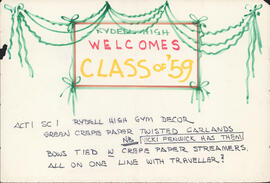
Sketch of large Rydell High sign
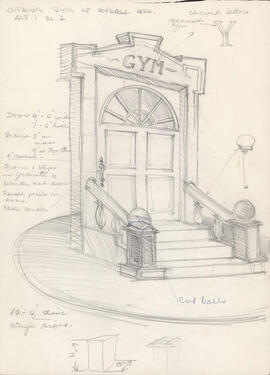
Sketch of outside the gym at Rydell High

Sketch of Rydell High sign

Sketch of Sandy's bedroom : Act I, scene IV
Stage design
Results 551 to 564 of 564